
鸿蒙开发基础10-模块化语法和自定义组件
模块化语法
主要是用于跨文件间的访问 可以访问一些常用的变量 或者是方法函数
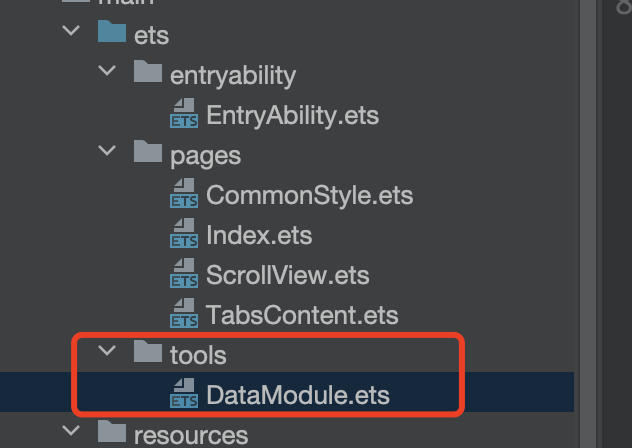
首先在我们的项目下面 新建一个目录并创建一个文件名
// 导出单独的一个值
let countName: number = 10
export default countName

// 导出多个值
export let iconName: String = '我是测试员'
export let changeName: string = '我要改名字'
export let clickFunc = () => {
  console.log('我打印一个测试方法');
}
然后在需要用到的地方 直接引用就可以了 其实前面设置为导出属性之后 系统就会索引 在其他地方直接调用 系统会自动给你加上需要导入的内容 如果对引用的命名不满意 可以自定义名称 然后用as进行修饰以及 如下面代码所示
import  countName from '../tools/DataModule'
import { iconName, clickFunc, changeName as myChangeName} from '../tools/DataModule'

// 或者用下面的方式 这种是系统自动导入的格式 可以作为参考
import  countName, { clickFunc, iconName, changeName as myChangeName } from '../tools/DataModule'
function getName<T> (name: T) : T {
countName
iconName
myChangeName
clickFunc()
return name
}有些时候 一个个的导出导入 其实也挺麻烦的 这里有一个更推荐的方式 是一次性导出导入 方便在需要引用较多的情况下使用
let iconName: String = '我是测试员'
let changeName: string = '我要改名字'
let clickFunc = () => {
  console.log('我打印一个测试方法');
}

export {
  countName,
  iconName, changeName,
  clickFunc
}
import * as DataMudule123 from '../tools/DataModule'
// 需要用到的地方 进行模块名称的形式进行调用 就可以了
function getName<T> (name: T) : T {
DataMudule123.changeName
DataMudule123.iconName
DataMudule123.changeName
DataMudule123.clickFunc()
return name
}通过快捷方式comp 系统会直接提示创建组件的模块的代码块
@Preview  // 可以预览局部的view界面 但是不支持直接查到逻辑事件
@Component // 创建单独的组件
struct customComponent {
	build() {

	}
}
自定义组件
自定义组件和传入自定义组件的 关键在
@BuilderParam customView: () => void = this.deafultCustomView

@Builder
deafultCustomView() {

}
@Entry
@Component
struct TestComponment {
build() {
Column({ space: 12 }) {
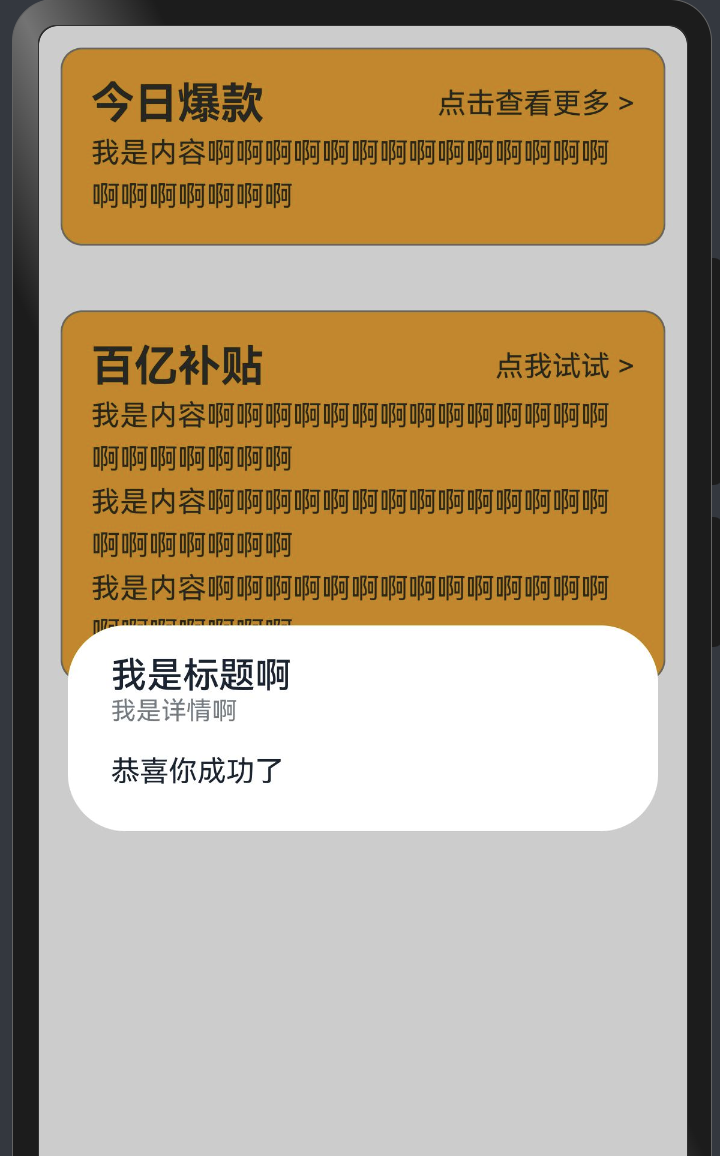
CustomCell({
title: '今日爆款',
detail: '点击查看更多 >',
nextClick() {
AlertDialog.show(
{
title: '我是标题啊',
subtitle: '我是详情啊',
message: '恭喜你成功了',
alignment: DialogAlignment.Center,
}
)
}
}) {
CustomText({
content: '我是内容啊啊啊啊啊啊啊啊啊啊啊啊啊啊啊啊啊啊啊啊啊'
})
}
CustomCell({
title: '百亿补贴',
detail: '点我试试 >',
nextClick() {
AlertDialog.show({
message: '真的可以啊'
})
}
})
{
CustomText({
content: '我是内容啊啊啊啊啊啊啊啊啊啊啊啊啊啊啊啊啊啊啊啊啊\n' +
'我是内容啊啊啊啊啊啊啊啊啊啊啊啊啊啊啊啊啊啊啊啊啊\n' +
'我是内容啊啊啊啊啊啊啊啊啊啊啊啊啊啊啊啊啊啊啊啊啊'
})
}
}
}
}
@Component
struct CustomCell {
@State title: string = ''
@State detail: string = ''
@State customText: string = ''
@BuilderParam customView: () => void = this.deafultCustomView
@Builder
deafultCustomView() {
}
nextClick = () => {
console.log('你点击了右上角的按钮')
}
clickAllContent() {
console.log('你点击了全部内容')
}
build() {
Column() {
Column() {
Row() {
Text(this.title)
.fontSize(24)
.fontWeight(FontWeight.Bold)
Text(this.detail)
.onClick(() => {
this.nextClick()
})
}
.width('100%')
.justifyContent(FlexAlign.SpaceBetween)
// 自定义文本
this.customView()
}
.backgroundColor(Color.Orange)
.padding(16)
.borderRadius(12)
.border({
width: 1,
color: Color.Gray
})
}
.padding(12)
}
}
@Component
struct CustomText {
@State content: string = ''
build() {
Text(this.content)
.lineHeight(24)
.width('100%')
}
}
本文是原创文章,完整转载请注明来自 MrXiao's Blog
阅读建议

评论
匿名评论
隐私政策
你无需删除空行,直接评论以获取最佳展示效果